The Complete Guide to Motorcycle Chain Maintenance
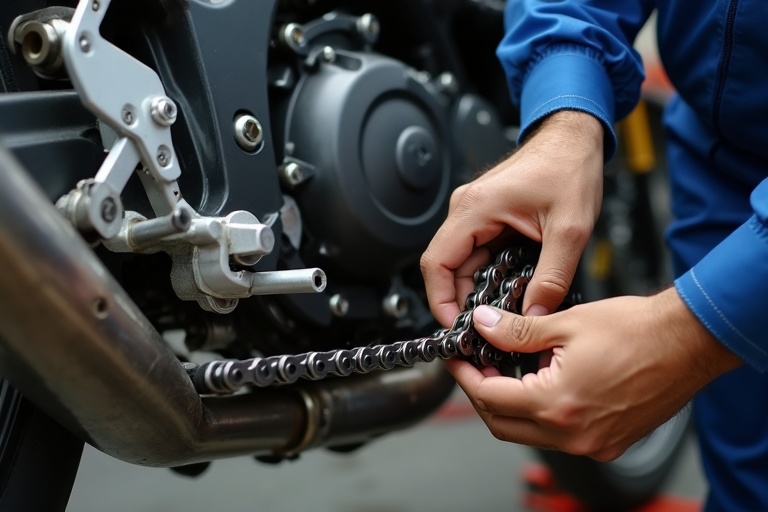
The chain drive is a high-load system that responds quickly to maintenance quality. Good chain care improves throttle smoothness, fuel efficiency, and component lifespan. Poor care creates vibration, noise, and accelerated wear.
Set a fixed maintenance cadence
Use interval rules based on ride conditions, not guesswork. Dusty roads, rain, and stop-start commuting require more frequent cleaning and lubrication than occasional highway riding.
Clean correctly to avoid seal damage
Use chain-safe cleaner and a soft brush. Aggressive solvents or pressure washing can damage O-rings and force contaminants deeper into the links. Rotate slowly and clean all sides.
Measure and adjust slack precisely
Excess slack causes lash and impact loading; too-tight setup strains bearings and countershaft seals. Measure at the recommended point and align axle markers carefully on both sides.
- Check for tight spots by rotating the wheel fully.
- Adjust tension at the tightest section.
- Re-check alignment before final torque.
Lubricate at the right time
Apply lubricant after riding when the chain is warm so penetration improves. Focus on internal link interfaces, then remove excess to reduce dust accumulation.
Inspect sprocket health together with chain
Hooked teeth, uneven wear, and side polishing indicate system-level wear. Replacing only one component often causes premature failure in the others.
Know replacement thresholds
Repeated adjustment frequency, persistent tight spots, or visible elongation are replacement signals. Replace chain and sprockets as a set to restore consistent load transfer.
A maintained chain is a safety system, not just a power-transfer component.
Treat chain service as preventive engineering. Done properly, it reduces noise, protects the drivetrain, and improves rider confidence every day.